
Why Set Up Your App Settings
Properly configuring the app settings ensures that your purchase orders are consistent, branded, accurate, and professional. It also reduces errors by pre-populating key fields like tax rate, payment terms, and supplier defaults—saving you time when creating POs and avoiding manual corrections.
Key Settings to Configure
1. Company & Branding
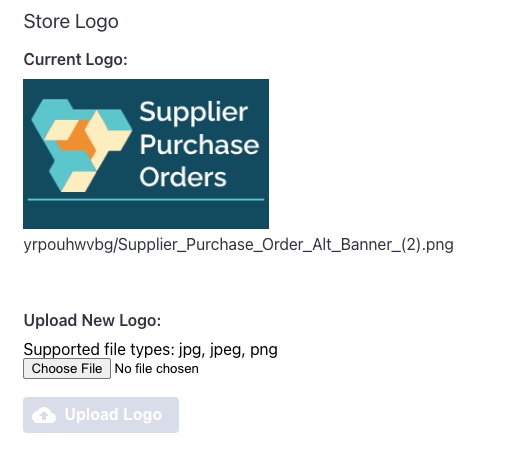
- Upload your company logo in the app settings so it appears on your PO PDFs. Click the Choose File button to choose your logo file, and then hit the Upload Logo button
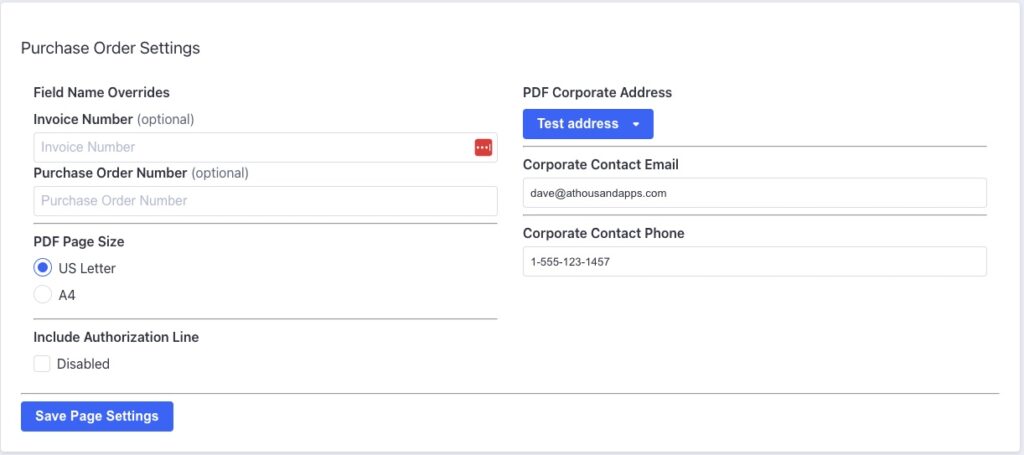
- Define your corporate address (this should come from one of your corporate addresses as set in the “Manage Business Addresses” section of the app) so it’s used across POs.
- Enter your corporate contact information (email, phone), which will display under your logo on POs.
- Depending on your region, you can select US Letter or A4 page sizes.
- If you need an “authorized by” line included in your purchase orders, so that your supplier can authorize the purchase order before it gets issued, you can enable the Include Authorization Line option.
- You can change the names for Invoice Number and Purchase Order Number if needed. Overriding these values will change the text as it appears everywhere in the app, as well as the titles that appear for these values in PDFs.
2. Payment Terms, Methods & Tax Defaults
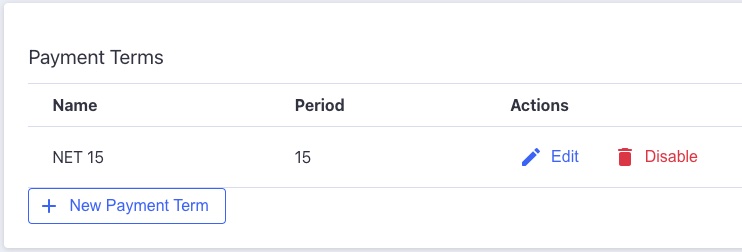
- Create and select your default payment terms (e.g., Net 30) — these will auto-populate on new POs, and be available as defaults when setting up suppliers.
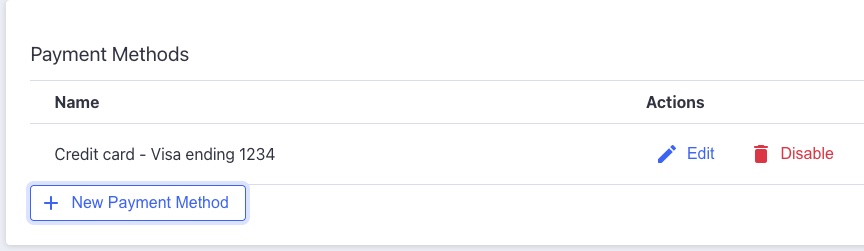
- Set up payment methods that are displayed to suppliers (e.g., “Visa ending in 1234”). These don’t store full card details—just what shows on the PO. These will auto-populate on new POs, and be available as defaults when setting up suppliers.
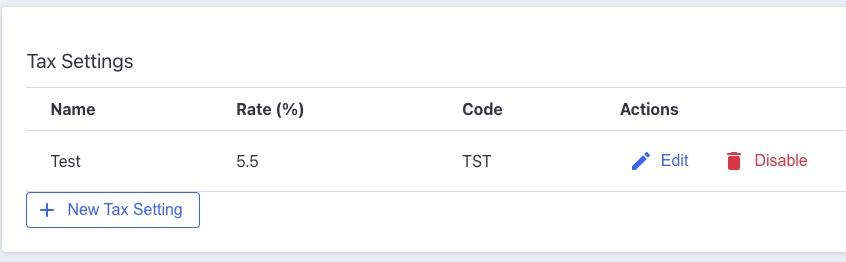
- Configure tax settings to be used in POs. When a purchase order is being generated for that supplier, the tax rate will be used to calculate taxes on items that are added to the purchase order. These will auto-populate on new POs, and be available as defaults when setting up suppliers.
Updating App Payments

If you’ve received an email letting you know that your on-file credit card will be expiring soon, if you want to switch cards, if you’d like to modify your subscription or you’d like to download invoices for your charges, you can do these things from the Stripe Customer Portal. Click on the View Stripe Customer Portal link, where you’ll be asked for your email address. Once you enter your email, a link will be sent to your email address where you’ll be able to see your payment information.
Best Practices & Tips
- Set your company info first – logo, address, contact information – so POs feel professional and consistent from day one.
- Standardize supplier defaults – once you define payment and tax settings, use them consistently to avoid errors.
- Test your PO PDFs – after configuring, create a sample PO to check that everything displays correctly.
- Use clear naming conventions for suppliers and settings – helps your team navigate and maintain them.
- Revisit settings regularly: as your business grows, or as you add new suppliers or locations, update your defaults.
Supplier Purchase Orders for BigCommerce
Supplier Purchase Orders can help you manage your store’s purchase orders and warehouse receiving. Try now, and get a 7 day free trial!