
First Setup
If you want your purchase-order workflows to run smoothly, you’ll want to make sure your core settings are configured correctly from the start—company info, tax/payment defaults, suppliers, product assignments, and your first purchase order. The steps below guide you through a strong foundation, setting up the app and creating your first purchase order.
Step 1: Configure Store Payment Terms, Methods & Tax Settings
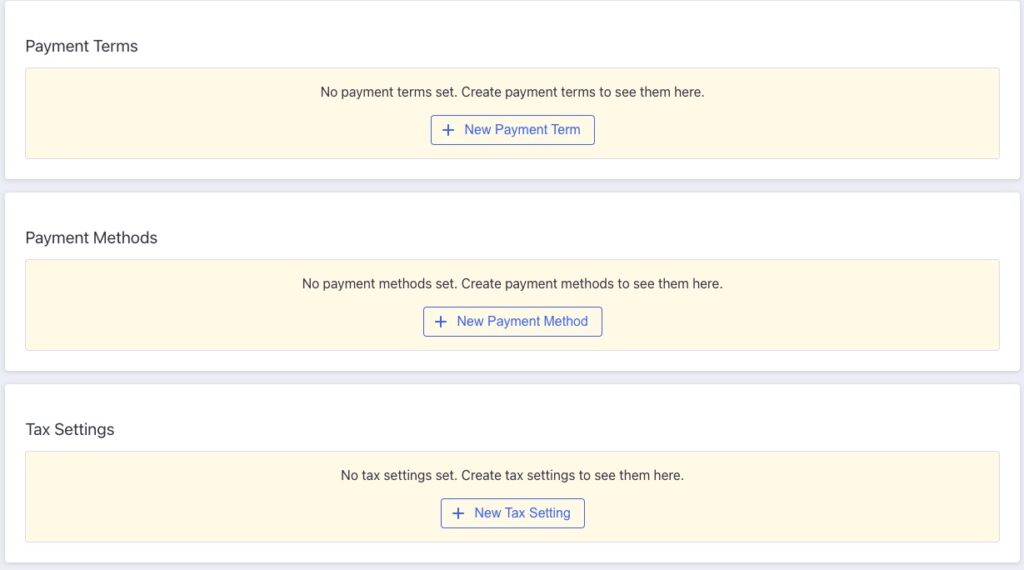
- Go into the App Settings to define your common Payment Terms (e.g., Net 15, Net 30) — these appear on the PO for your supplier.
- Set your Payment Methods (e.g., “Visa ending in 1234”) — what the supplier sees, not full card info.
- Define your Tax Setting(s) so that when items are added to a purchase order, the correct rate is applied. When items are added to a purchase order, those items will be have a tax rate applied from the selected tax setting. These taxes can always be overridden, if certain items don’t have the same tax rate as the rest of the order.
Step 2: Add Store Corporate Information & Locations
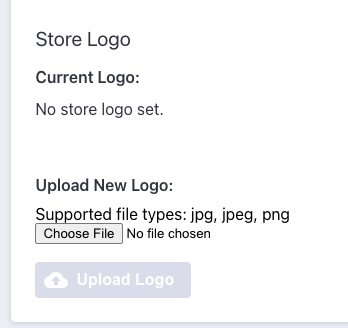
- Go into the App Settings to upload your Store Logo in the app—this will appear on your POs.

- Go to Manage Locations & Addresses and add a corporate address. We’ll select this address to be the address that appears as your company’s address on purchase orders.

- In the App Settings, select the corporate address to be used as your company’s address in purchase orders.
- Add your company’s Corporate Contact Email, and Corporate Contact Phone number to be displayed in purchase orders.
Step 3: Set Up Your First Supplier

- Navigate to the Suppliers section and click New Supplier.
- Provide a supplier name, address, default payment method, payment terms and tax settings (from the values you created in Step 1).
- Save the supplier—this creates the supplier in the app that we will use when generating our first purchase order.
Step 4: Assign Products to Your Supplier
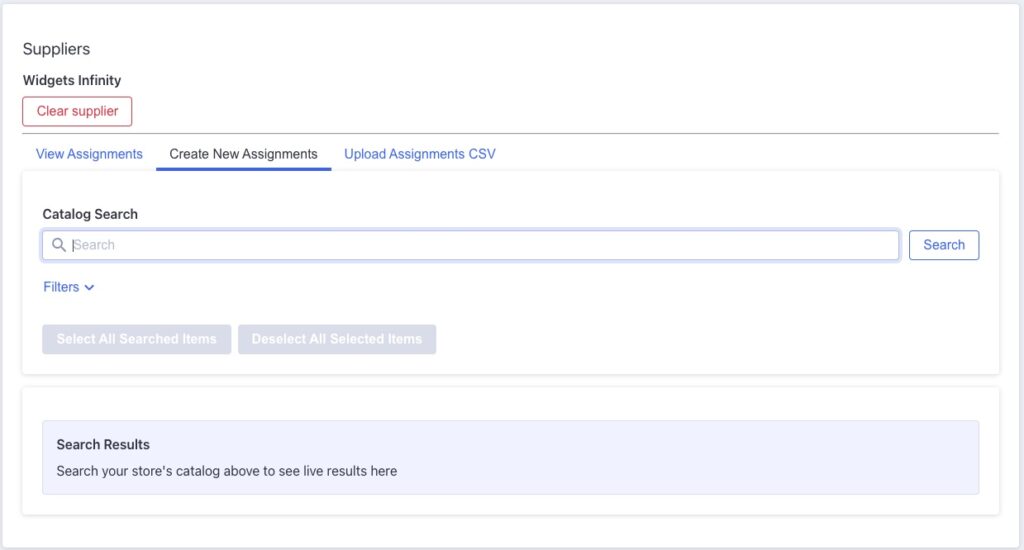
- After adding a supplier, go to Supplier Product Assignments. Click on the “Create New Assignments” tab, and search your BigCommerce catalog for the products that this supplier carries.
- For this first purchase order, search for the items that will be in the first purchase order. We can always come back and assign more products to this supplier later.

- For each product/variant, set:
- Supplier SKU (what the supplier users)
- Supplier Price (price set by the supplier)
- Minimum Order Quantity (minimum quantity that the supplier will accept)
- Submit the assignments by clicking “Submit New Product Assignments”
Step 5: Create Your First Purchase Order
- With the supplier and assignments ready, navigate to Purchase Orders → + New Purchase Order.
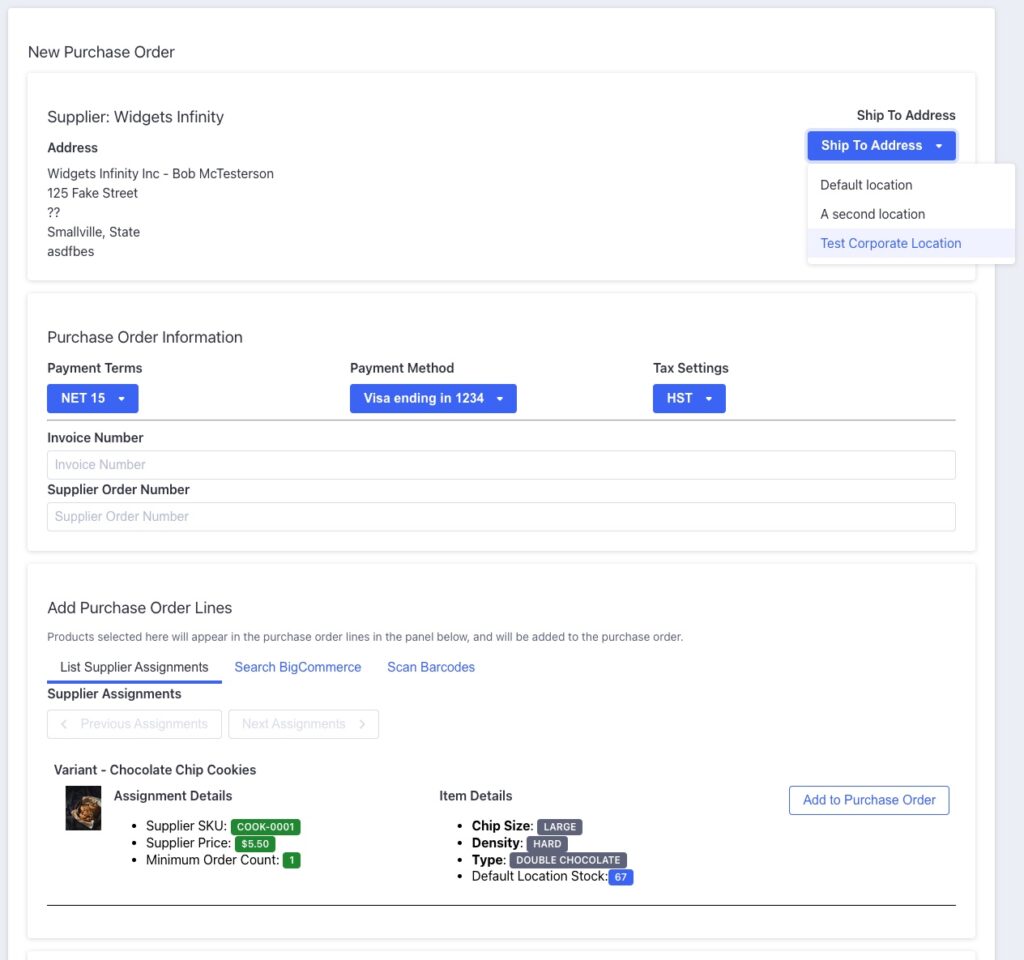
- Choose your supplier and the shipping location (a BigCommerce location or your corporate location).
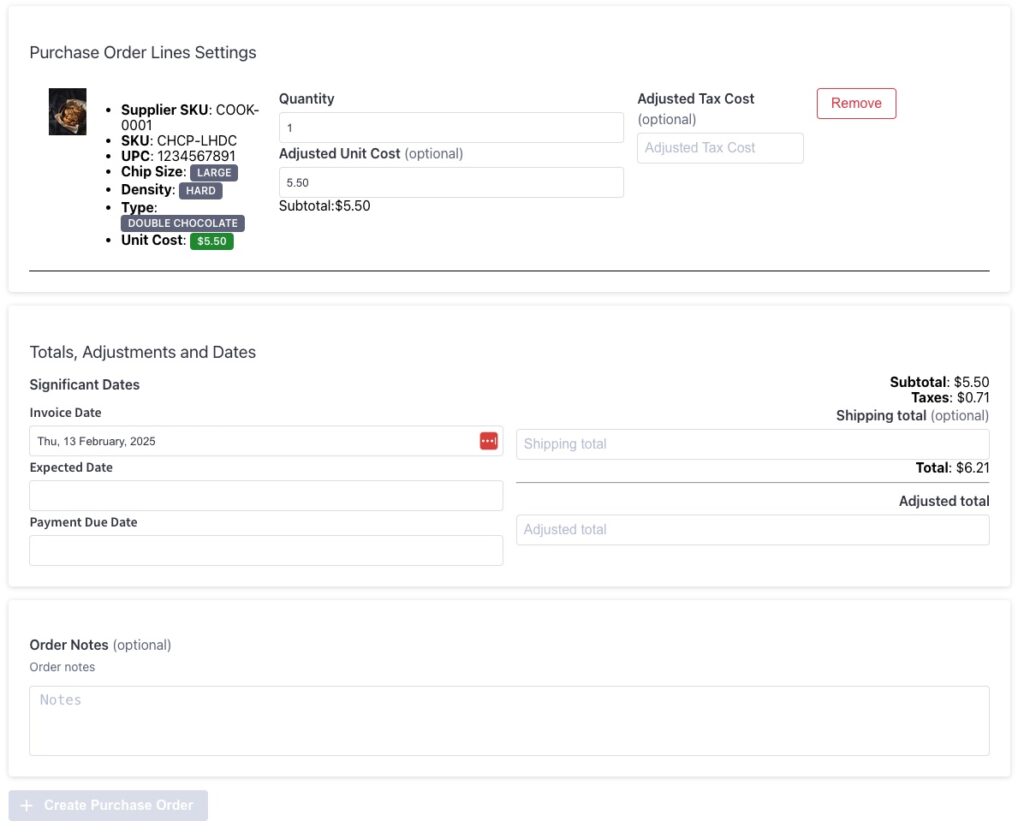
- Add items from the supplier assignment list or search products manually.
- Add any important dates that are already known – including dates about when the shipments are expected, or when payment is due.
- Add a shipping total if known, and adjust the total for the PO if needed.
- Note: this information can be updated later if the supplier requests changes.
- Click the “Create Purchase Order” button to create the purchase order.
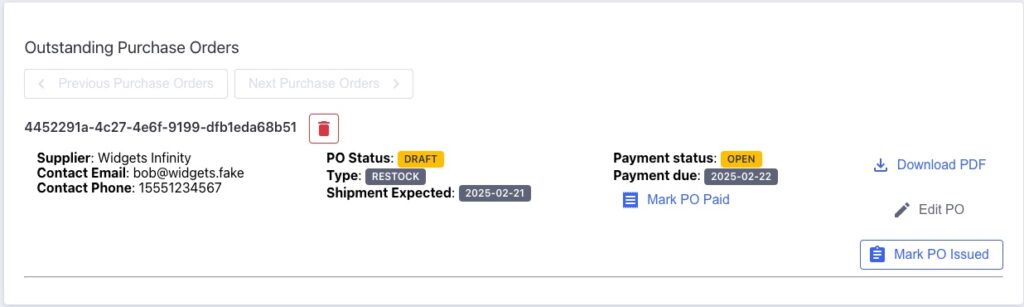
- You should now see the PO listed in your Outstanding Purchase Orders list.
Further Reading
Once the purchase order has been approved by our supplier, we’re going to have to go through steps to track and receive shipments. Since you’re already started and shipments aren’t instantaneous, that information won’t be included here. You can read more about receiving orders, and managing purchase orders in these posts:
- Manage Purchase Orders
- Update Purchase Order Shipments
- Create a Warehouse Receiving Order
- Create and Update Purchase Orders
We have the basics set up now, which hopefully has shown you what’s possible in the Supplier Purchase Orders app. If you have any questions about the app, have suggestions for how to make it better, or you run into any issues, you can always reach out to us at support@athousandapps.com. All feedback is very much appreciated – we want the app to be as good as it can be!
Supplier Purchase Orders for BigCommerce
Supplier Purchase Orders can help you manage your store’s purchase orders and warehouse receiving. Try now, and get a 7 day free trial!