
Before You Begin: Prerequisites
- You need existing suppliers, payment terms, payment methods, and tax settings.
- Products (and variants) should already be assigned to suppliers.
- Receiving location(s) set up, either for BigCommerce locations, or corporate shipping addresses.
Creating Purchase Orders
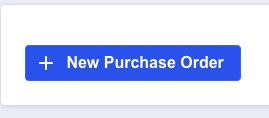
When you have suppliers and supplier assignments created, you should be in a good place to start creating purchase orders. From the purchase orders section of the Supplier Purchase Orders app, you should see a list of outstanding purchase orders, but also the + New Purchase Order button. Click this button to start creating a purchase order.
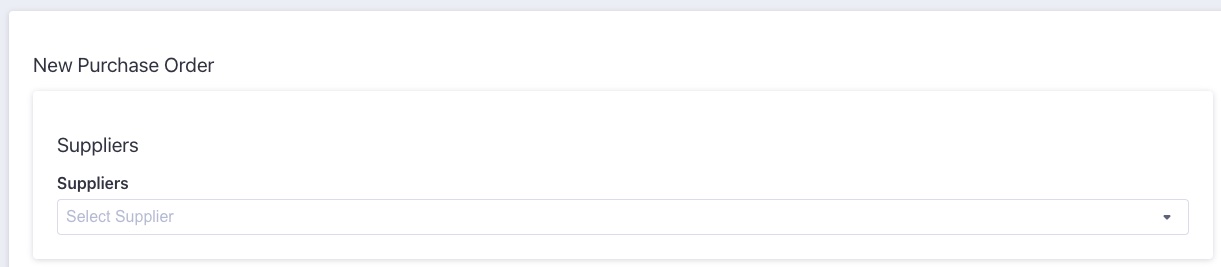
The first choice you’ll have to make when creating a purchase order is which supplier this purchase order is for. Selecting the supplier from this dropdown will show additional options for the purchase order, but will also fill in several sections with the supplier’s information: the supplier’s address will be shown below the selected supplier’s name, and the supplier’s default payment terms, payment method and tax settings will be automatically selected from their respective dropdowns in the purchase order information panel.
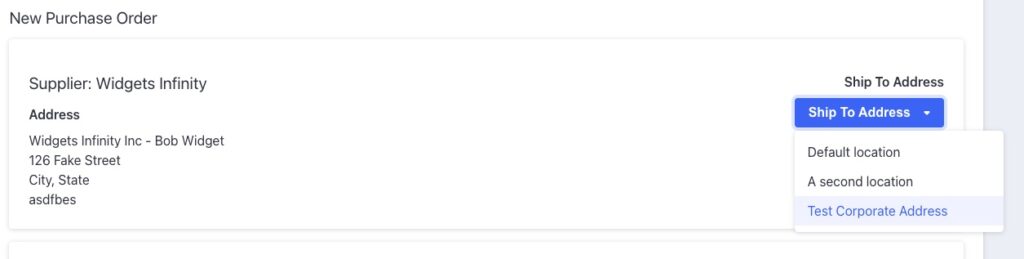
The next option you’ll have is to select where the shipment should be made to. This Ship To Address dropdown will contain all of your store’s BigCommerce locations, as well as corporate addresses set in the addresses section of the app.
Purchase orders made to BigCommerce locations will update inventory levels when they are received.
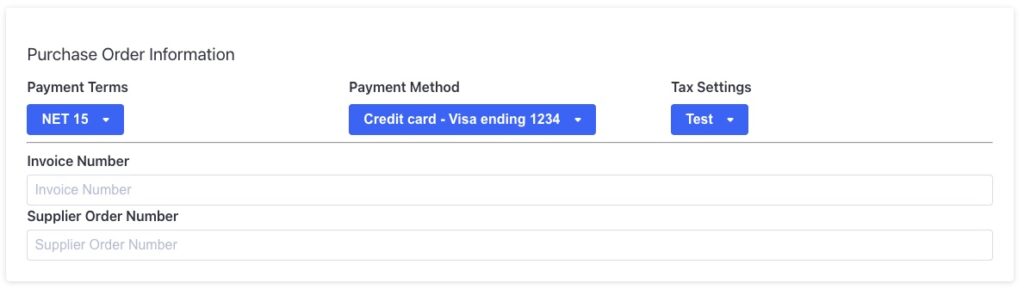
Next, you should see a panel for additional purchase order information. The payment terms, payment method and tax settings dropdowns should have the selected supplier’s default settings selected, but you can override them here before the purchase order is issued.
There are also fields to store an internal order number, as well as a supplier order number for this purchase order. You may not know the supplier purchase order until the order has been confirmed by the supplier, so this field may only be needed when updating the purchase order, right before marking the order issued.
Adding Purchase Order Lines
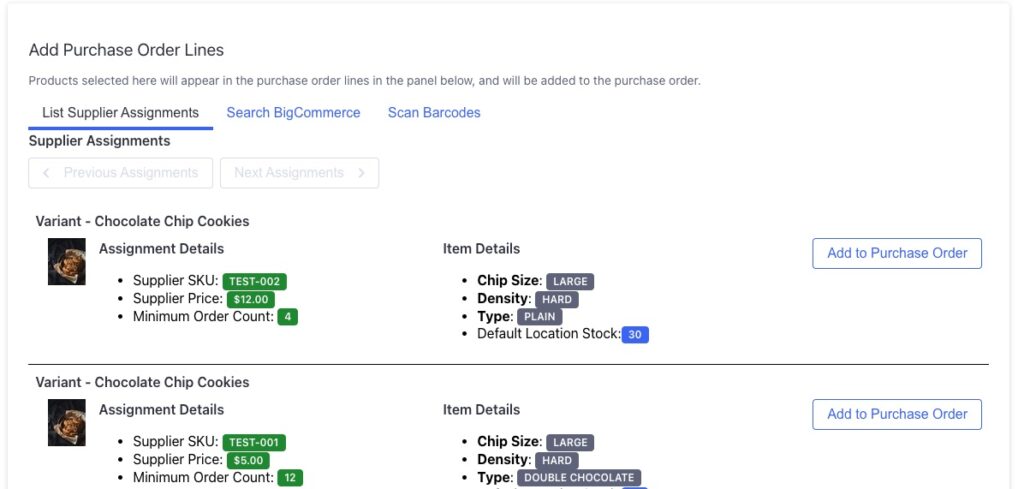
In the Add Purchase Order Lines panel, you’ll see a few options to select the items that should be added to the purchase order. By default, you’ll have the List Supplier Assignments tab shown, where you’ll get a paginated view of each product assignment for this supplier. In the first column you’ll see the assignment details, the second column will show product data, include variant options if this item is a variant, and on the right side you’ll see an Add to Purchase Order button, which should be clicked if this is an item that should be added to the purchase order.
If you have more than 10 assigned items for this supplier, you can navigate through pages of items by clicking the Previous Assignments or Next Assignments buttons.
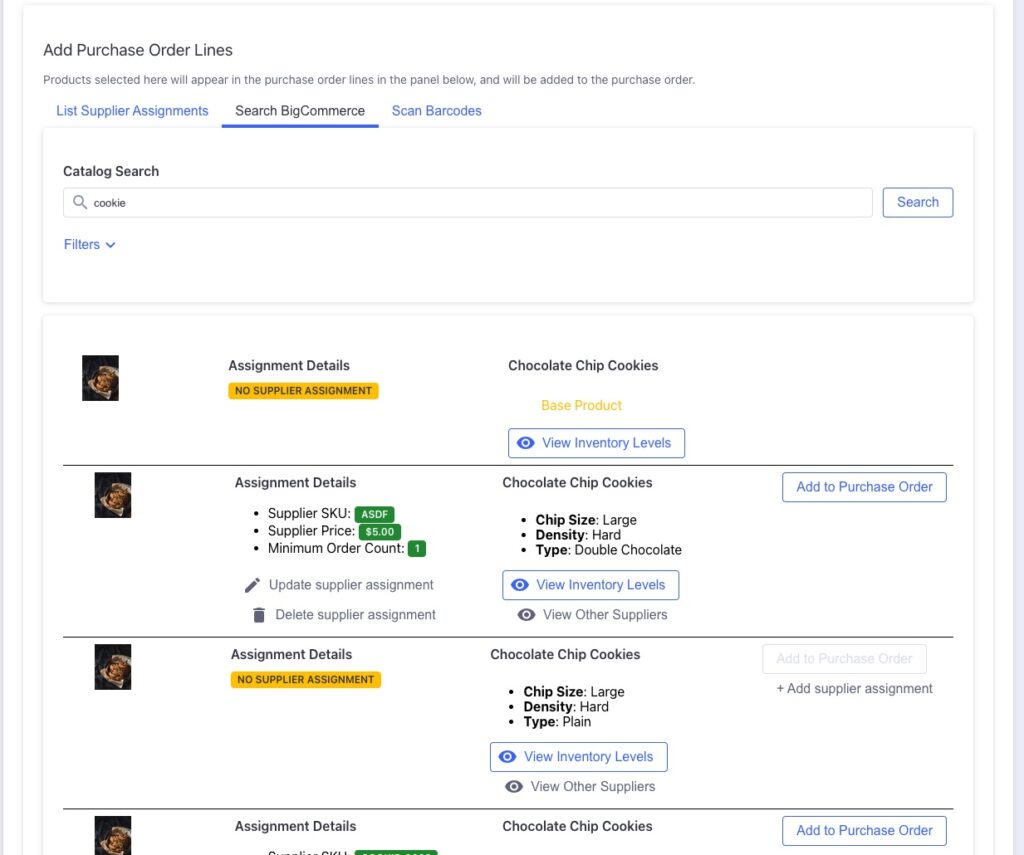
The Search BigCommerce tab for this section allows you to search through BigCommerce to find products that have assignments created for them. Like in the List Supplier Assignments tab, you’ll see assignment details, as well as item details and an Add to Purchase Order button, which should be clicked if an item should be added to the purchase order.
Using the search is probably the better option if this supplier has lots of product assignments, because you’ll be able to get to the products you’re looking for faster, without having to page through all of the supplier’s assignments.
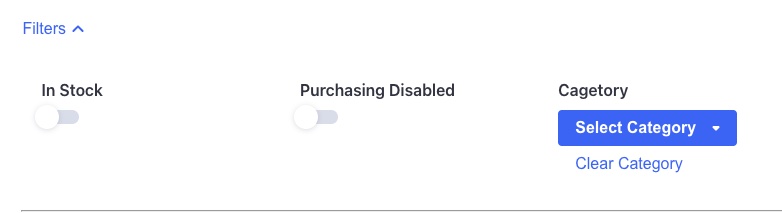
Below the Catalog Search bar, you also have a few options for searching BigCommerce, where you can restrict the search to find items that are in stock, have purchasing disabled or that belong to a specific category.
Searched items that don’t have an existing supplier assignment will show a + Add supplier assignment button. You can use this button to quickly create an assignment, which will allow you to then add this item to the purchase order.
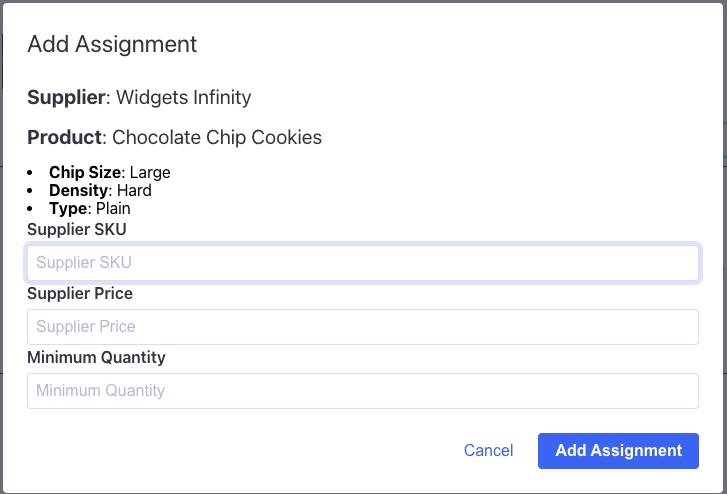
When you click the + Add supplier assignment button, you’ll see the quick Add Assignment modal. The fields in this form will be used to create the assignment for the supplier that was selected when creating this purchase order.
For items that have assignments, you can also update or delete the existing supplier assignments by clicking the Update supplier assignment or Delete supplier assignment buttons under the assignment details.
For additional information about the products that have been searched, you can use the two buttons below the product details.
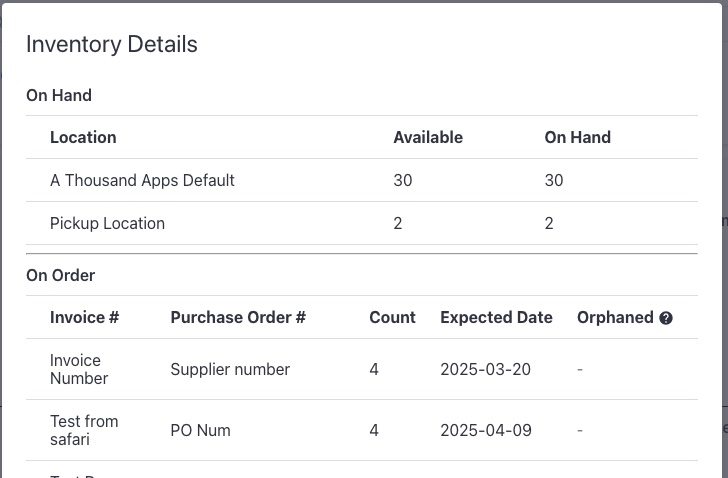
Clicking the View Inventory Details button will show inventory levels at your BigCommerce locations, followed by the amount of ordered inventory for this product in existing, outstanding purchase orders.
Because the internet and software isn’t perfect, there is a chance that some ordering details may not have been removed correctly at some point. If you see that purchase order details are missing from this list, and there is a trash can icon under the Orphaned column, this means that the purchase order line is missing its related purchase order. This should be rare, but the orphaned record should probably be deleted, because it’s still showing as outstanding, even though the purchase order has already been removed. These orphaned records would likely cause problems for suggested purchase orders because they would show up in the product’s inventory counts.
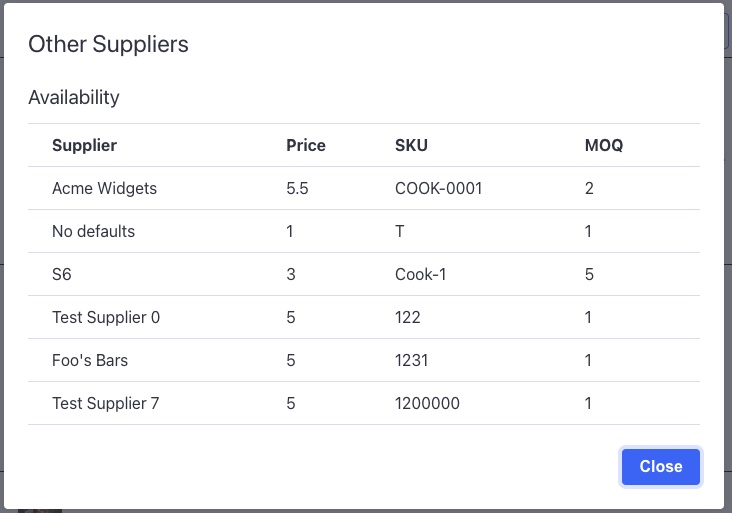
Clicking the View Other Suppliers button will show you details of other suppliers that offer the same product.
Adding External Items
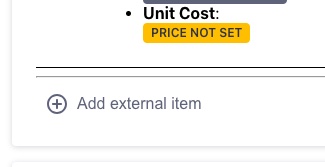
If you’re looking at add an item that won’t be tracked by your BigCommerce store, use the Add external item button at the bottom of the Purchase Order Lines Settings panel.
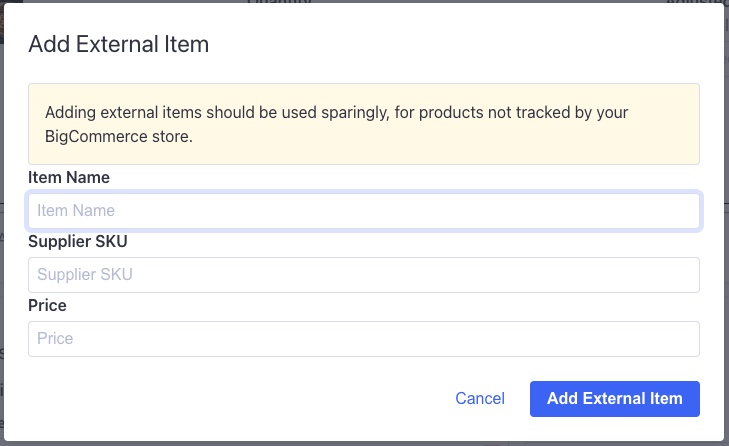
When you click this button, you should see a modal to fill in required information for this external item. External items will be added to and tracked by purchase orders, but will never try to modify inventory levels in your BigCommerce store.
Purchase Order Lines Settings
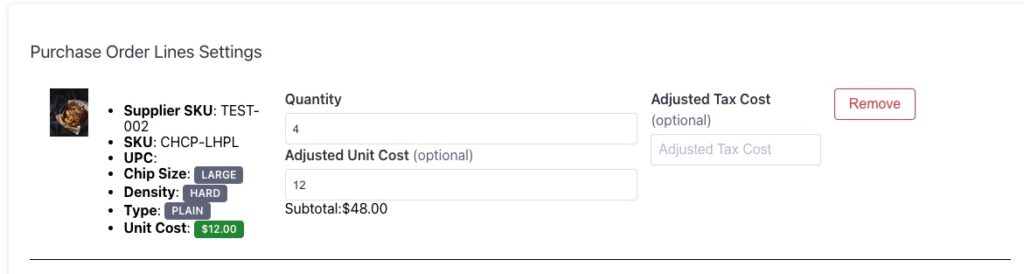
When items have been added to a purchase order, you’ll see them in the Purchase Order Lines Settings panel. Each item that was added gets its own row, with information about the item, and fields for updating the quantity, cost and tax cost of the item.
The quantity is automatically set to the minimum order quantity from the product’s assignment, although can also be updated in this field. The Adjusted Unit Cost is also automatically populated from the product’s assignment, and can be updated in this field as well.
If there is any reason to adjust the tax cost of this line, you can do that in the Adjusted Tax Cost field. Please note: this value is applied to the whole line, and is not multiplied by the quantity of units in the purchase order.
Totals, Adjustments and Dates
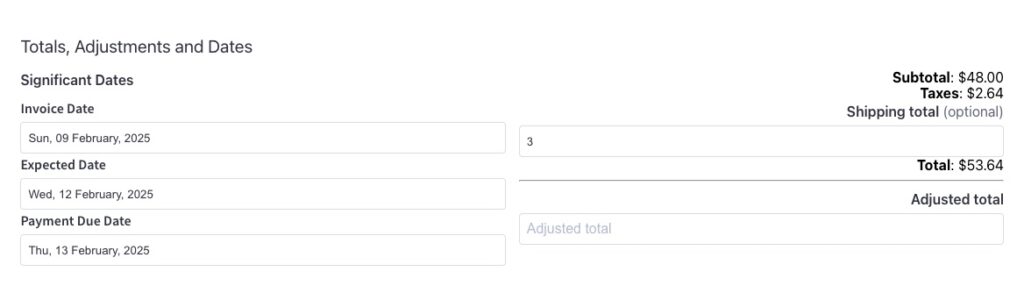
Towards the bottom of the purchase order, you’ll see the Totals, Adjustments and Dates panel. In this panel, you’ll see the final options needed to create your purchase order.
On the left side are significant dates regarding the purchase order. The invoice date should represent when the purchase order was sent out, the Expected Date represents the date shipments are expected to be complete and the Payment Due Date is the date that payments are expected to be complete. Any of these dates can be updated before marking the purchase order issued, in case they need to be adjusted.
On the right side, we should see a Subtotal and Taxes for the purchase order. These values should be coming from the purchase order lines. In the case of item lines that don’t have an adjusted tax cost value, the subtotal for the line should be multiplied by the tax rate from the selected tax setting selected in the Purchase Order Information panel.
If any shipping cost is known, or if we want to estimate it here, it can be added in the Shipping total line. That value is then added to the subtotal and taxes to give us the Total value.
If, for whatever reason, we want to override the total value, we can update the Adjusted total field to have a completely different value displayed as the final total for the order.
Notes
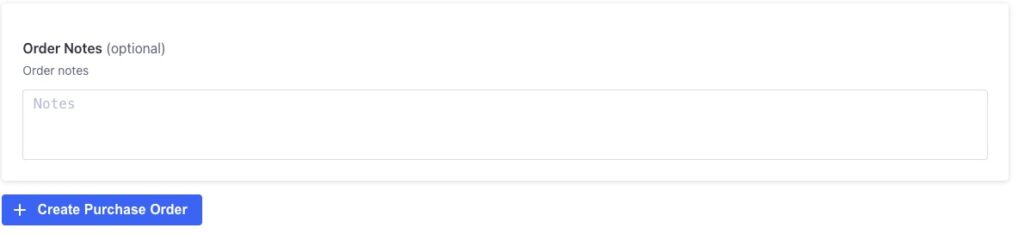
Lastly, we should see an order notes text field that we can fill out with any additional information that the supplier might need for this purchase order. The value set here appears in the bottom left of the purchase order’s downloaded PDF.
Once all of a purchase order’s information has been entered, click the + Create Purchase Order button to create the purchase order. After creation, the new purchase order should appear in the purchase orders list in the purchase orders section of the app.
Editing a Purchase Order
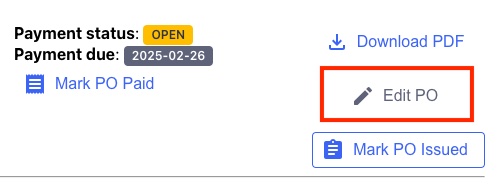
Before a purchase order is issued, you should see an Edit PO button, which will send you to a very similar page to the create purchase orders page.
Please note that once a purchase order has been issued (by clicking the Mark PO Issued button), it will no longer be editable. If you want to made modifications afterwards, you’ll likely need to click the trash icon for the purchase order to reject the remaining order, and recreate the purchase order with more accurate information. The assumption is that a purchase order that has been sent to a supplier and has been approved would need that same kind of two-way approval again to decide something different should be sent, and so a purchase order should not be editable once issued.
Best Practices & Tips
- Validate supplier defaults first: Make sure the correct payment, tax, and address settings are saved for each supplier before creating POs.
- Use search vs paging: If a supplier has many products, use the search tab to find SKUs faster.
- Double-check dates: Ensure expected ship dates and payment dates are realistic to avoid confusion downstream.
- Use notes intelligently: Clarify unusual instructions (like “ship partial now, rest next month”) in the order notes.
Supplier Purchase Orders for BigCommerce
Supplier Purchase Orders can help you manage your store’s purchase orders and warehouse receiving. Try now, and get a 7 day free trial!